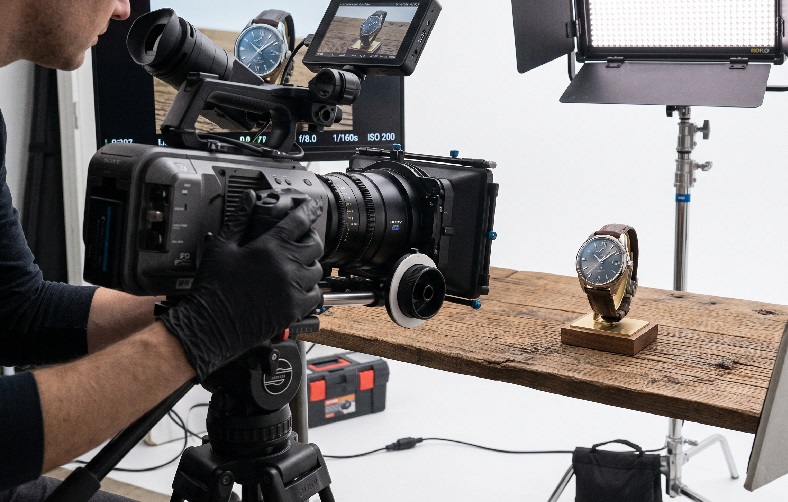
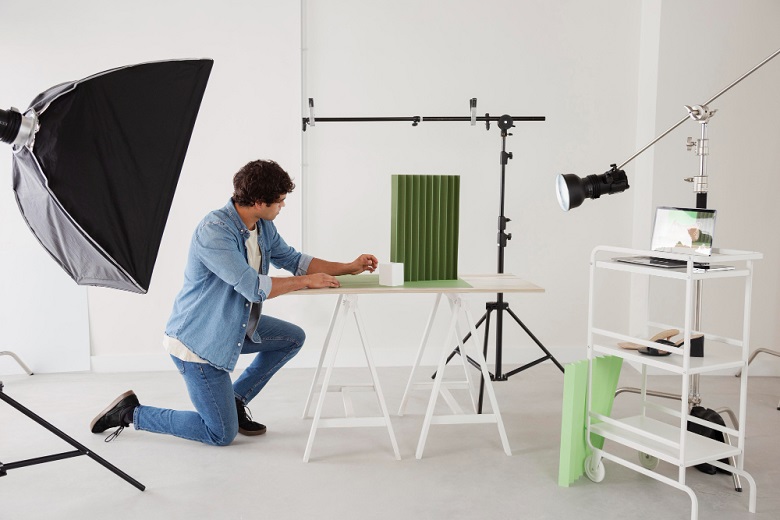
A product can feel expensive in the hand and cheap on screen. That gap in perception is created at the product shoot, not in the edit suite. Many brand owners assume the process is as simple as a good camera and a white table. In reality, one small mistake with material or light direction is enough to damage the brand’s image.
The impact goes well beyond aesthetics. A hesitant buyer closes the page and moves on to another seller. Research by the Baymard Institute shows that users try to estimate product size from the images, yet 28% of sites provide no image with a sense of scale. Mastering product shooting from the planning stage is therefore far cheaper than repeated revisions.
The way out is not more equipment, but a better order of thinking. Read the material first, light it second, bring in the camera last. This article dissects the traps that most often catch in-house teams and newcomers alike.
Why Product Shoot Results So Often Miss Expectations
The most expensive mistakes happen before the camera is switched on. Teams typically prepare a visual concept without testing how the product reacts to light. Glass bottles, matte plastic, fabric, and metal have completely different reflective characteristics.
Glossy products reflect the whole room, including the camera operator’s face. Dark products do the opposite, swallowing light and losing their edge detail. Without a quick reflection test, a product shot will feel dirty even when the framing is immaculate.
Misreading the Material Before the Concept Is Locked
A material test takes five minutes with one lamp and one reflector. Rotate the product slowly, then watch for the point where reflections start to interfere. That is what determines your product lighting direction, not a Pinterest reference.
Technical Traps You Only Feel in the Edit
Camera monitors are small and tend to deceive. Texture detail that looks safe on location can fall apart on a large screen. The problem surfaces too late, once the team has already struck the set.
Focus missing by a few millimetres is a classic case in close-up work. A depth of field that is too shallow renders the logo sharp but the edge of the packaging soft. Mistakes like this cannot be rescued by any software.
Colour That Shifts Between Camera, Screen, and Marketplace
Colour is a reason for returns that rarely gets acknowledged. Mixed lighting, say fluorescent room lights meeting LEDs, produces a colour shift that is hard to neutralise. Lock the white balance manually and use a colour checker on the first take. That one reference frame saves the entire grading process.
The Preparation That Decides Everything Before the Camera Rolls
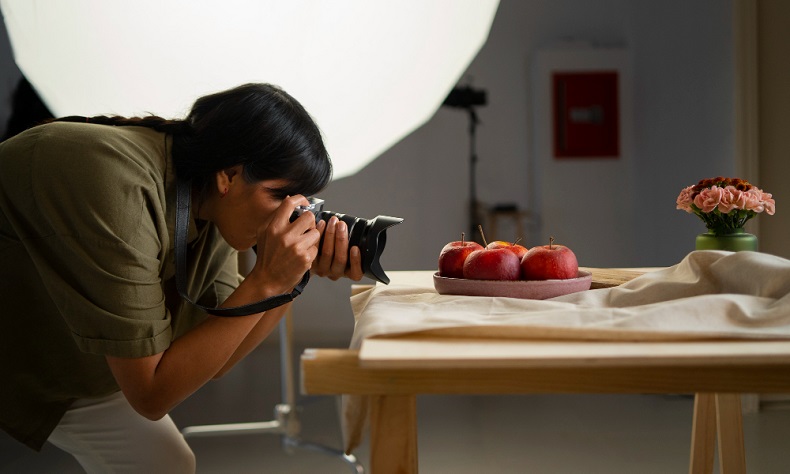
Most failures stem from preparation, not operator skill. Products arrive dusty, slightly dented, or with crooked labels. On camera, those details are magnified twofold.
A few things must be ready before the team arrives on location:
- At least two backup product units in case of defects
- Cleaning kit: gloves, blower, microfibre cloth
- The product’s true colour reference from the brand guidelines
- A shot list covering what will be used in ads and the catalogue
A Quick Diagnostic Table for Product Shoot Problems
| Symptom in the Result | Root Cause | Action on Location |
| Surface looks dull | Light is too hard and direct | Add diffusion or bounce off polystyrene |
| Crew reflections visible | Lamp angle is in line with the camera | Move the lamp, hang black cloth on the camera side |
| Packaging colour shifts | Mixed light sources | Switch off room lights, lock white balance manually |
| Product appears to float | The contact shadow has disappeared | Lower the fill intensity, restore the ground shadow |
| Edge detail is lost | Background too close in colour to the product | Change the background or add a thin rim light |
This table is meant to be used as a checklist while monitoring, not after the shoot has wrapped. Catching a symptom on location means the cost of fixing it is close to zero.
A Product Shoot Workflow That Keeps Revisions Down
A tidy workflow matters more than the most expensive camera. Teams used to handling digital content production always sequence their work with the same discipline. That order has been shown to cut time on location by half.
- Test the product’s material and reflections before the concept is locked
- Build a shot list with the aspect ratios for each destination platform
- Build the product lighting from a single key light, then add gradually
- Record one colour reference frame and keep it as the benchmark
- Review the results on a large screen before the set is struck
The fifth step is the one most often skipped in the interest of time. Yet the cost of rebuilding a set is far greater than ten minutes of checking. This small discipline is what separates professional results from trial and error.
Adapting the Output for Multiple Channels
A single session can produce assets for the catalogue, social media, and ongoing ad production. The condition is that vertical and horizontal ratios are planned from the start. Leave empty space at the edges of the frame so cropping never cuts into the product.
Closing the Gap Between the Physical Product and the Buyer’s Screen
The heart of the matter is simple: buyers cannot touch your product. Visuals are the only bridge, and that bridge is built on location. Read the material, control the light, lock the colour, check the results before the set comes down.
Some brands choose to handle day-to-day needs in house, and that is perfectly reasonable. For product launches or major campaigns, however, working with an experienced team is usually more efficient. High Angle is used to mapping out a product’s character before building the concept, so the number of revisions can be reduced from the planning stage. An initial consultation is often enough to avoid the most expensive traps.
Questions Clients Frequently Ask
- Does a product shoot have to use a dedicated studio?
Not necessarily, as long as the room’s light can be controlled and it is free of disruptive reflections. - How long should a session for five products take?
Generally four to six hours, provided the materials have been tested and the shot list is final. - Why do the photos differ in colour from the actual product?
Because of mixed light sources and automatic white balance, both of which a colour reference at the start of the session prevents.